Firms with Filevine
Account Admins can add the LOIS for Word product in Account Manager > Users, just the way they would for other products. Learn more. Once an Account Admin has granted access, you can navigate to LOIS for Word using one of the following methods:- Profile menu: in Filevine, select your profile picture in the top right corner, and then select LOIS for Word from the dropdown. LOIS for Word opens in a new browser tab.

- Direct signin: go to app.pincites.com and sign in with your Filevine email and password.

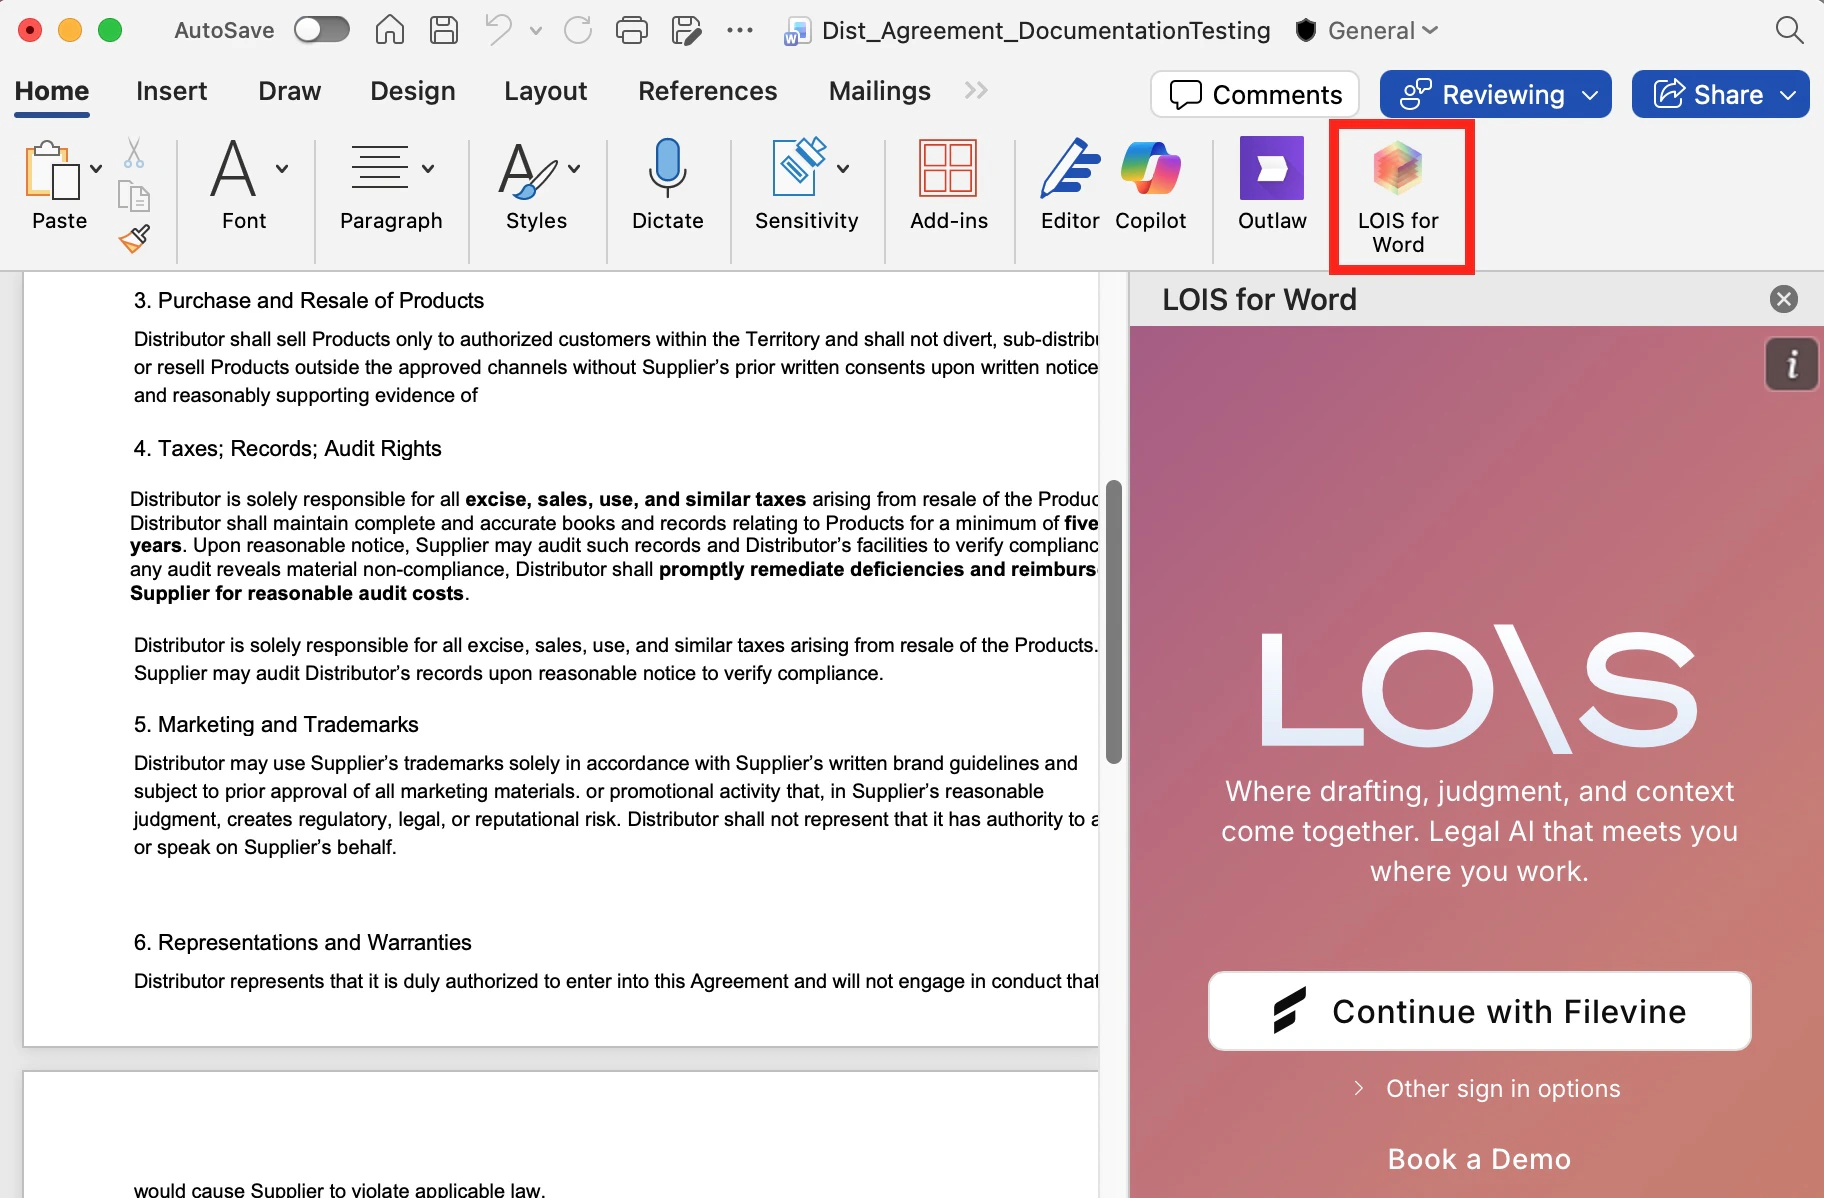
- install the add-in
- open the add-in in Microsoft Word and sign in with your Filevine email and password
Firms without Filevine
One user will be provisioned for LOIS for Word. This user will:- sign in to LOIS for Word with Filevine
- use Filevine’s Account Manager tool to invite other users
Sign in to LOIS for Word with Filevine
If another user has provisioned or invited you, you can follow the steps below to sign in to LOIS for Word with Filevine. The steps may vary depending on whether your firm has set up a third-party SSO.

Enter your password.
Depending on your firm’s SSO, you may be asked for a password. When you were invited, you received an email from reminders@filevine.com with the subject line: “Welcome to Filevine.” This email contains a temporary password. Enter this temporary password on the signin page. You’ll be prompted to change your password. Enter and confirm the password you’d like to use going forward, and then select Change Password.
Set up MFA.
Firms without SSO must set up MFA.Select Set Up MFA. You receive an email at the address you entered, with a confirmation code. Copy the confirmation code from your email, enter it on the sign in page, and select Verify.

Invite other users
Navigate to the Users section.
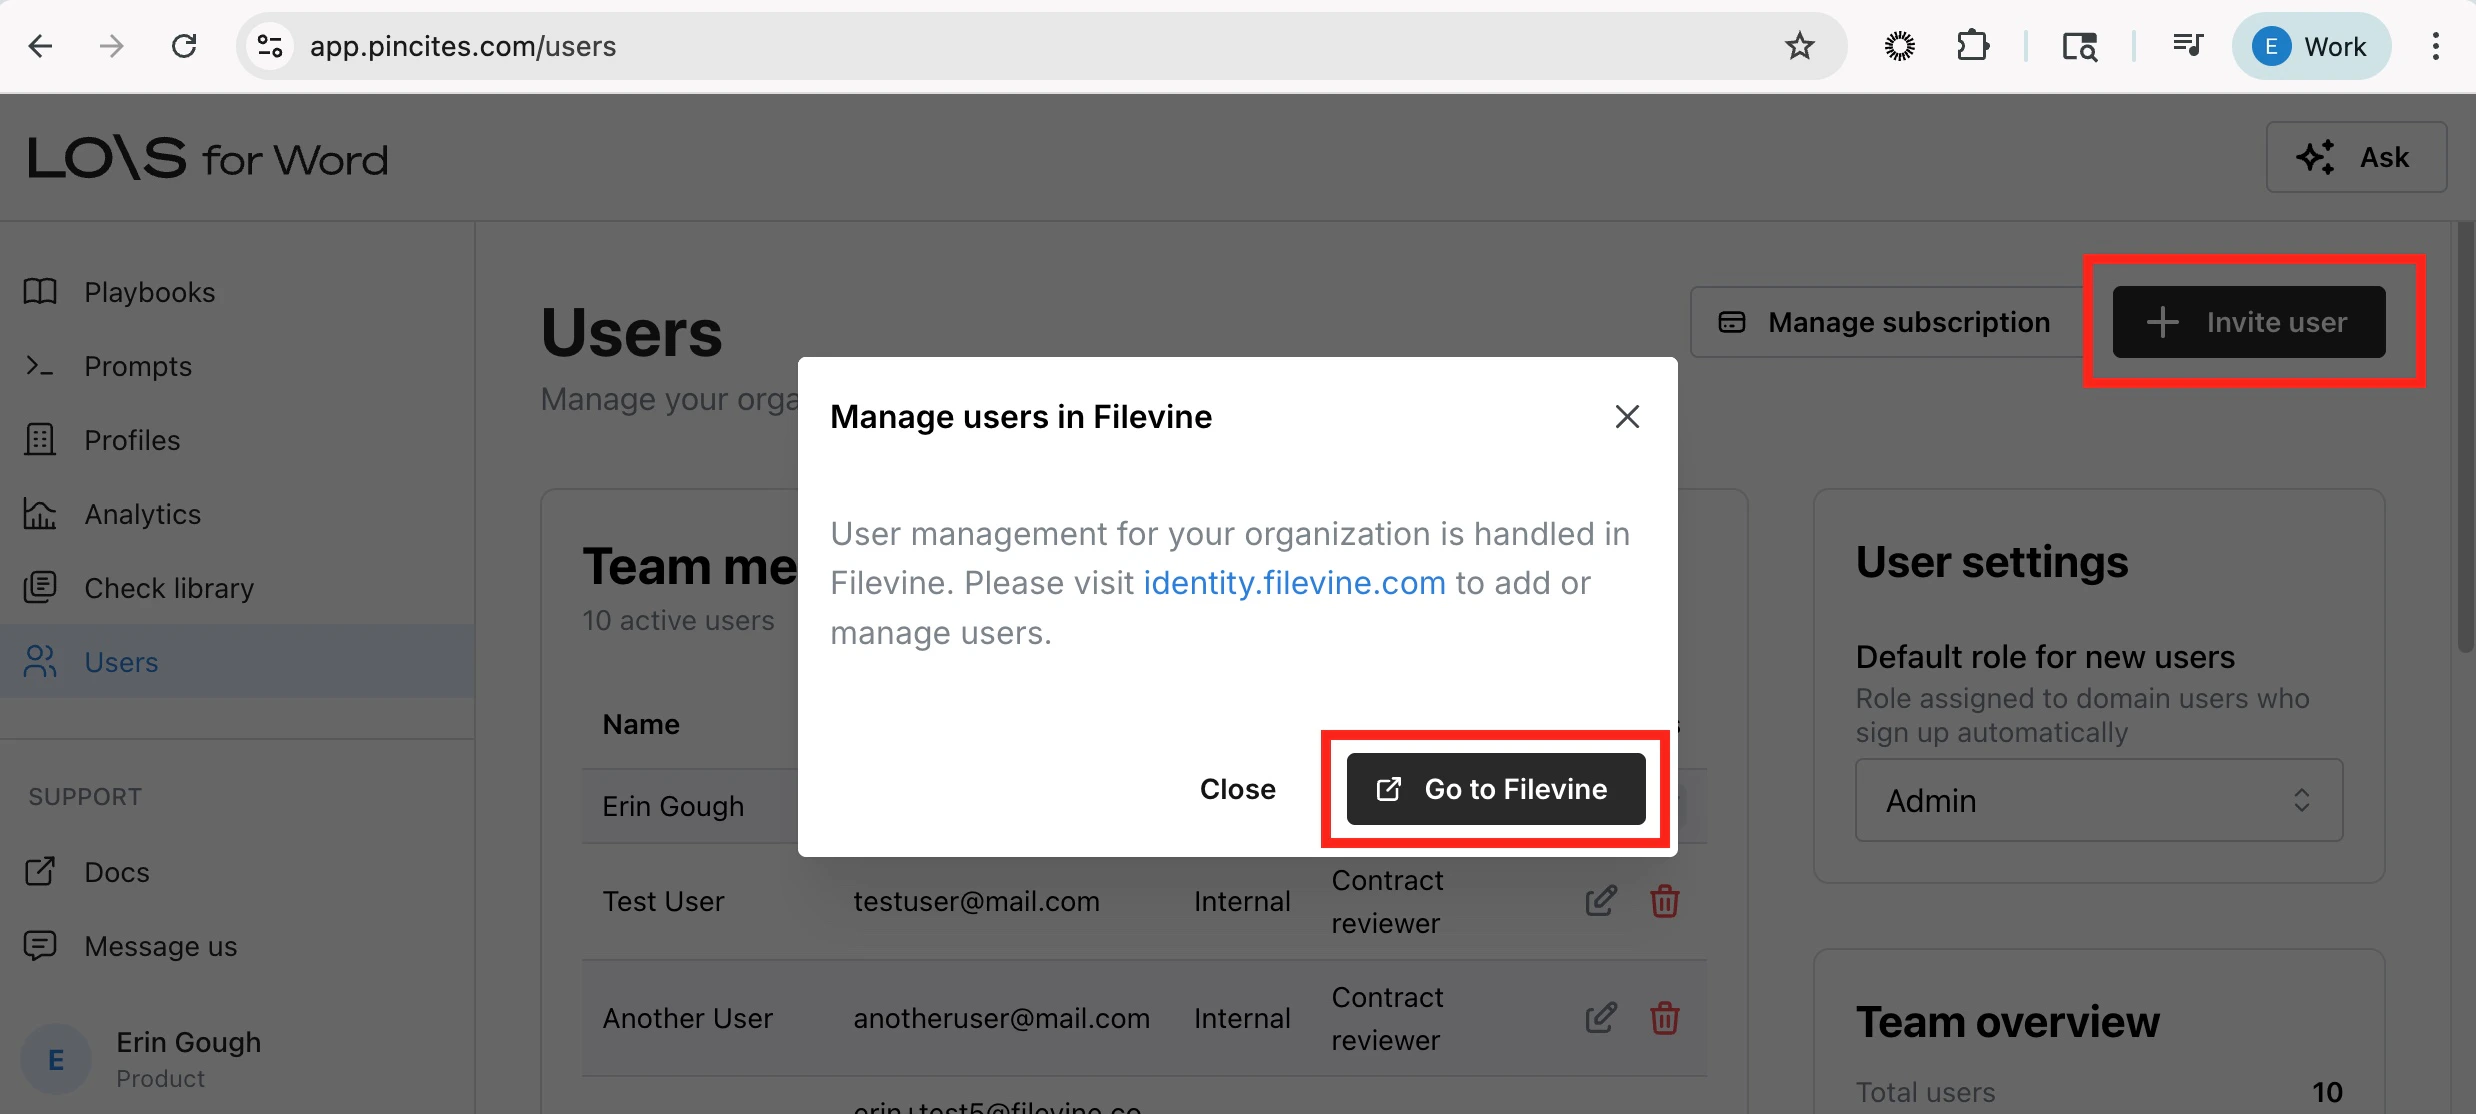
Select the Users section in the left side menu (https://app.pincites.com/users). This section is where you manage your users and their roles.
Set the default role for new users.
All invited users will have this role when they are invited. Once they’ve been added, users’ roles can be edited in this Users section.We recommend choosing Contract review or Viewer as the default role, rather than Admin. Admin users will be able to invite and manage other users as well as create playbooks and checks. Read more about roles.

Troubleshooting
My email isn’t recognized
My email isn’t recognized
If, when attempting to sign in, you enter your email and get a message asking to locate your account:
I didn’t get an email
I didn’t get an email
If you did not receive a “Welcome to Filevine” email with your temporary password:This current fix requires you to set a temporary password for the initial signin, and then set a permanent password to use going forward. The steps below provide a walkthrough of this process.Navigate to app.pincites.com, and then follow these steps:
- In the Email Address field, type in the email address that has been provisioned or invited. Select Sign In.
- Select the Forgot password? link underneath the Sign In button.

- Send a verification code to your email. On the Forgot Password page, confirm the email address is correct, and select Send Code. You’ll receive an email from reminders@filevine.com with the subject line: “Your Filevine verification code.” Open the email and copy the code.
- Enter the code and create a temporary password. On the Change Password page, paste your verification code and then enter and confirm a temporary, one-time password. Select Change Password.
- Use your temporary password to sign in. You’ll return to the signin screen. Enter your email and the temporary password you chose, and then select Sign In.
- Set your permanent password. You’ll be prompted to change your password one last time. Enter and confirm the permanent password you’d like to use going forward. Select Change Password.
I’m asked to select my tenant account
I’m asked to select my tenant account
If you are prompted to select your tenant account:Select your tenant account from the list. If you do not see your tenant account listed, contact support. Support can provide you with your tenant key, which you can enter to locate the account. Reach out to Live Help at support.filevine.com or email support@filevine.com.